Published February 9, 2022 05:38PM
The Old-School Bodybuilding Back Workout
Train like a bodybuilder — without looking like one — with this six-move back-transforming workout.
(Photo: GettyImages)
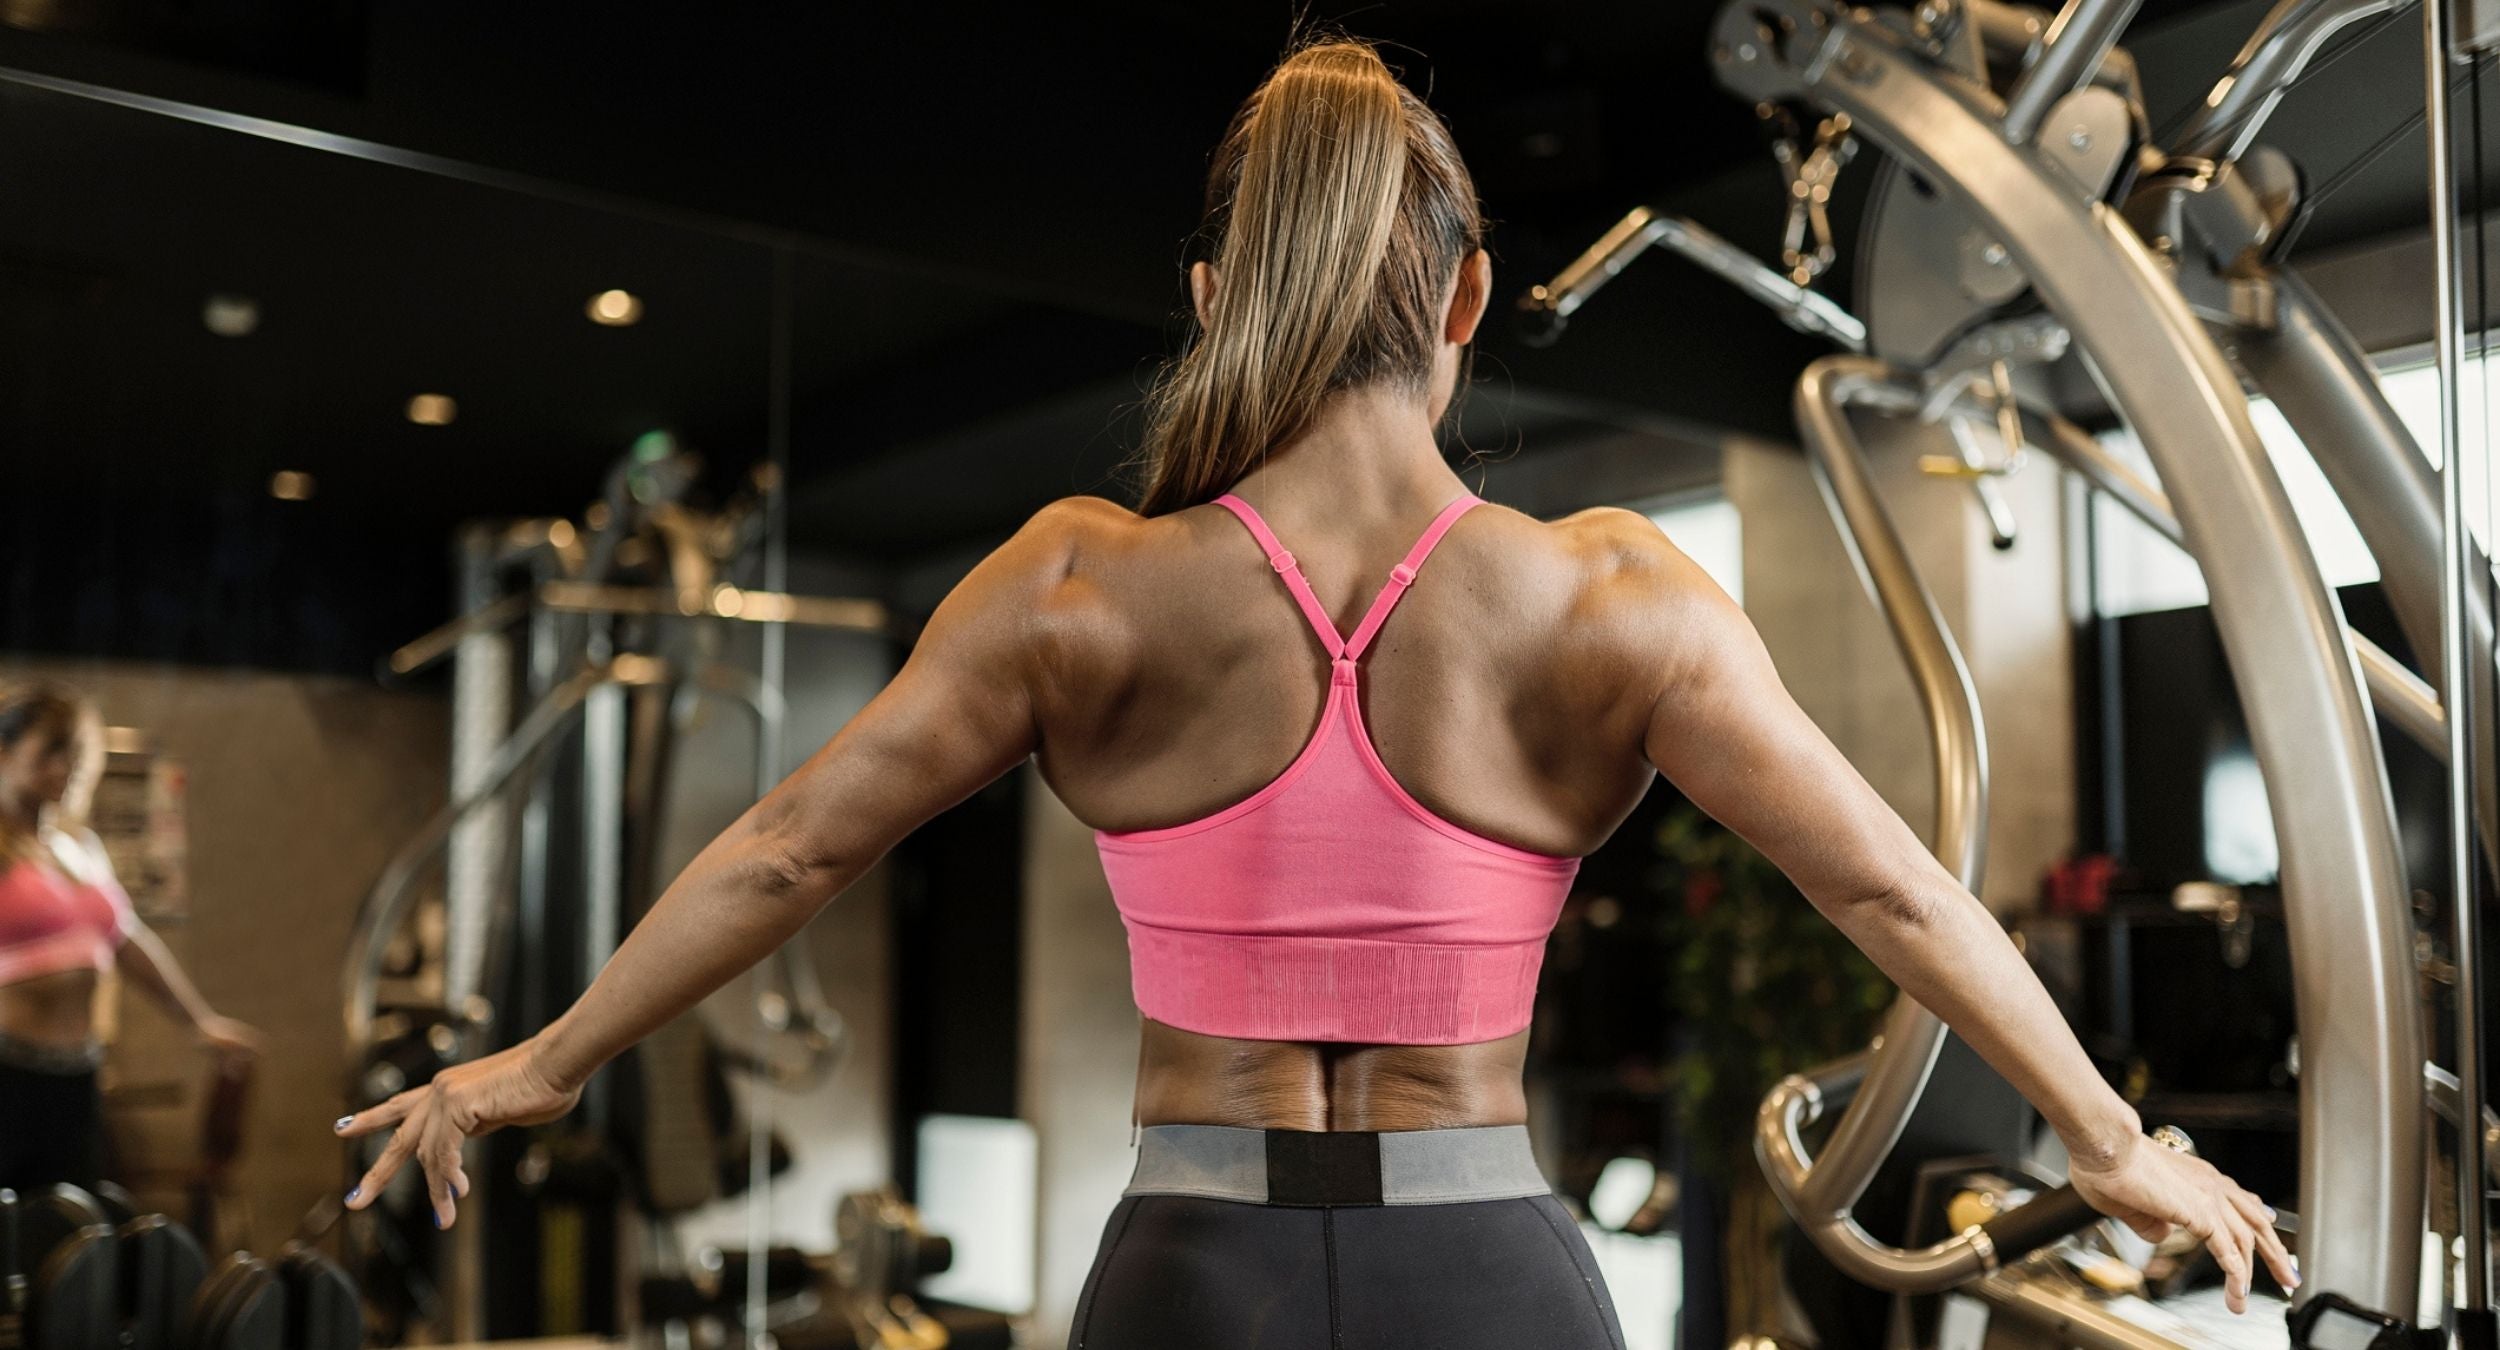
People might think bodybuilders spend far too much time looking in the mirror, but there’s a good reason for their perceived narcissism… that is, developing a show-ready physique requires constantly assessing every muscle, small and large, to ensure everything is developed and in proportion. The best bodybuilders, of course, also know another secret: That is, to never forget to turn around and check out their back while they’re at it.
“Everyone else sees our back all the time, while we may not check it out as often,” points out Aimee Nicotera, MS, health coach, personal trainer, virtual studio owner and creator of the E5 Collective. “To make sure it’s everything you want it to be — and that it keeps pace with your other muscle groups — I recommend a comprehensive approach to developing it, with a wide range of exercises that target each individual area.”
Even if taking the stage isn’t on your list of goals, there’s no denying the benefits of a strong back. And what better way to get stronger than focusing on each and every part of a muscle group with the precision of someone looking to show off the fruits of their labor in competition?
ADVERTISEMENT
Here, Nicotera outlines a six-pronged workout modeled after a typical bodybuilding regimen, which includes everything from compound, multijoint moves to unilateral exercises to a lower-back-focused bodyweight finisher. It’ll help you build just the right amount of muscle mass to look spectacularly strong, whether you’re coming or going.
Try the workout below, and check out the rest of the Old-School Strong series HERE.
The Old-School Bodybuilding Back Workout
| Exercise | Sets | Reps |
| Pull-Up | 3 | 10 |
| One-Arm Dumbbell Row | 3 | 12 per side |
| Lat Pulldown | 3 | 8-12 |
| Standing High Pulley Cable Row | 3 | 10 |
| Landmine Row | 3 | 8-10 |
| Back Extension | 3 | 12 |
Exercise How-tos
Pull-Up
Aimee’s Advice: “Perform 3 sets of 10, using strict form with no momentum, doing each set with a different grip. For example, you can choose to start with a wide grip with your palms facing forward, then do one with your palms facing each other, and then finish up with a narrow grip with your palms facing you. Each grip hits the back in a slightly different way, thus stimulating more muscle fibers overall through the three sets.”
How-To: Grasp a fixed overhead bar with your chosen grip, in each case being sure to wrap your thumbs around the bar. Hang freely from the bar, arms fully extended and ankles crossed behind you. Initiate the movement by pulling your shoulders down and away from your ears while depressing the scapulae. Pull yourself up as high as possible, bringing the upper arms toward your trunk and keep the neck neutral. Hold momentarily as your chin crosses the level of the bar, and then lower yourself down to the dead-hang, elbows extended position.
ADVERTISEMENT
One-Arm Dumbbell Row
Aimee’s Advice: “You’ll do three sets of 12 reps on each side, using a heavy weight where the last two reps are difficult to complete. Feel free to change weight on the next set if you find that the previous set was too easy, or ended up too difficult where you couldn’t get to 10 to 12 reps before failing.”
How-To: With the same side hand and knee on a flat bench for support — and keeping your spine long and flat — hold a dumbbell in your free hand, elbow extended. Your shoulders should remain square as you pull the dumbbell toward your hip, driving your elbow upward toward the ceiling as you do so. Hold the contraction for a moment at the peak contraction, then lower the dumbbell along the same path. Repeat for reps, then switch arms.
ADVERTISEMENT
Lat Pulldown
Aimee’s Advice: “Hit the pulldown for three sets of 8 to 12 reps, increasing the resistance by one weight plate in the stack each time if possible while still falling within that rep range.”
How-To: Hold the lat bar with both hands, each hand just outside of the bend in the bar in a closed, overhand grip. Sit down and lean slightly back, maintaining length in your spine and keeping your chest lifted. Initiate the movement by first shifting your shoulders down, then pulling bar down toward the upper chest as your elbows drive toward the floor. Your torso should remain stationary as you do so. When the center of the bar reaches approximately chin level, pause for a one-count, then return slowly to the start position.
ADVERTISEMENT
Standing High Pulley Cable Row (a.k.a., Face Pull)
Aimee’s Advice: “For this exercise, really focus on your form to get the most out of your three sets of 10 reps: Stand tall, keep your chest lifted, hips square, knees slightly bent and feet set about shoulder-width apart for stability.”
How-To: Set the pulley anchor at about shoulder height and use the rope attachment. Grip one end of the rope with each hand, palms down, and stand facing the cable machine so that your elbows are fully extended. Keep your elbows high, pulling them back until the hands are in front of the shoulders and the center of the rope is at your chin. Pause for a one-count at the contracted position, then slowly return to the start position, but don’t let the weight stack touch down between reps.
ADVERTISEMENT
Landmine Row
Aimee’s Advice: “This heavy row is often used early on in a back routine, but here we add it as an upper-back finishing move. After three sets of eight to 10 challenging reps, it’ll help guarantee that you’ve squeezed every bit of value out of your workout session.”
How-To: For this, you’ll need a triangle D-handle cable apparatus (such as this one), a barbell and weight plates. Load one end of a barbell with the other end placed within a landmine (or securely tucked into a corner). Straddle the bar facing the plates with your body at a 45-degree angle to the floor. Bend your knees and place the D-handle under the bar, so that you’re grasping a handle in each hand. Keeping your chest up and back flat, head in a neutral position, pull the bar up toward the midline of your chest as your elbows shift back behind you, remaining at the 45-degree angle throughout. Hold the peak contracted position momentarily before slowly lowering the weight. Don’t let the plate touch down to the floor between reps, and be sure to keep the spine long and core engaged during the set.
ADVERTISEMENT
Back Extension
Aimee’s Advice: “You’ll end the workout with three sets of 12 reps of extensions, which focus on strengthening the lower back and lumbar area. If 12 reps are too easy for you, try holding a weight plate across your chest — a sandbag or medicine ball works as well — to increase your intensity level.”
How-To: Assume a position face down on a back extension bench — it’ll likely be the style that puts your body at a 45-degree angle to the floor. Place your ankles behind the pads and your feet firmly on the platform. Your body will be in a plank, from head to feet, your hands folded over your chest. Hinge at the hips to lower your torso as far as you can, focusing on maintaining the length of your spine, then flex through your glutes and lower back to lift yourself back to that plank position.