Published February 4, 2021 01:00PM
4 Challenging Glute Bridge Exercises
Forge an iron core and shape your rear view with these four glute bridge exercise variations.
Anyone who has ever tried to shape and strengthen their glutes and hamstrings has felt the deep and oh-so-satisfying burn of bridges. But bridges aren’t just good for your glutes. They also engage the deep, intrinsic core muscles, helping strengthen and solidify your entire lower body and posterior chain while alleviating back pain and improving posture. These four moves take the basic bridge to the next level, progressing from the industry standard for foundational development movement to an advanced, unstable, elevated and weighted exercise.
Bridges simultaneously work your glutes, hamstrings and core while also training your balance and coordination.
Level 1: Rooted Bodyweight Bridge
The Level 1 bridge may seem basic, but you’ve got to be Polly Proficient at this version before you can do any of the others. Make each rep slow and deliberate, and really try to establish a strong mind-muscle connection as you work.
Lie faceup with your knees bent and your feet flat on the floor spaced hip-width apart. Extend your arms along your sides with your palms down. Drive down into your heels and press your hips upward until they align with your knees and shoulders. Pause briefly, then lower slowly to the floor and repeat.
ADVERTISEMENT
Troubleshooting
- Try lifting your toes up as you do a rep. If you can’t, your weight is in your toes. Bring your heels closer to your glutes to shift the upward drive into your heels where it belongs.
- If you’re feeling a strain in your neck and/or cervical spine, you’re probably pushing backward with your feet or are lifting your upper back off the floor. Prevent this by bracing your core to stabilize your spine and focus on driving up, not back, when you raise your hips. Also, purposefully ground your shoulders to protect your head and neck.
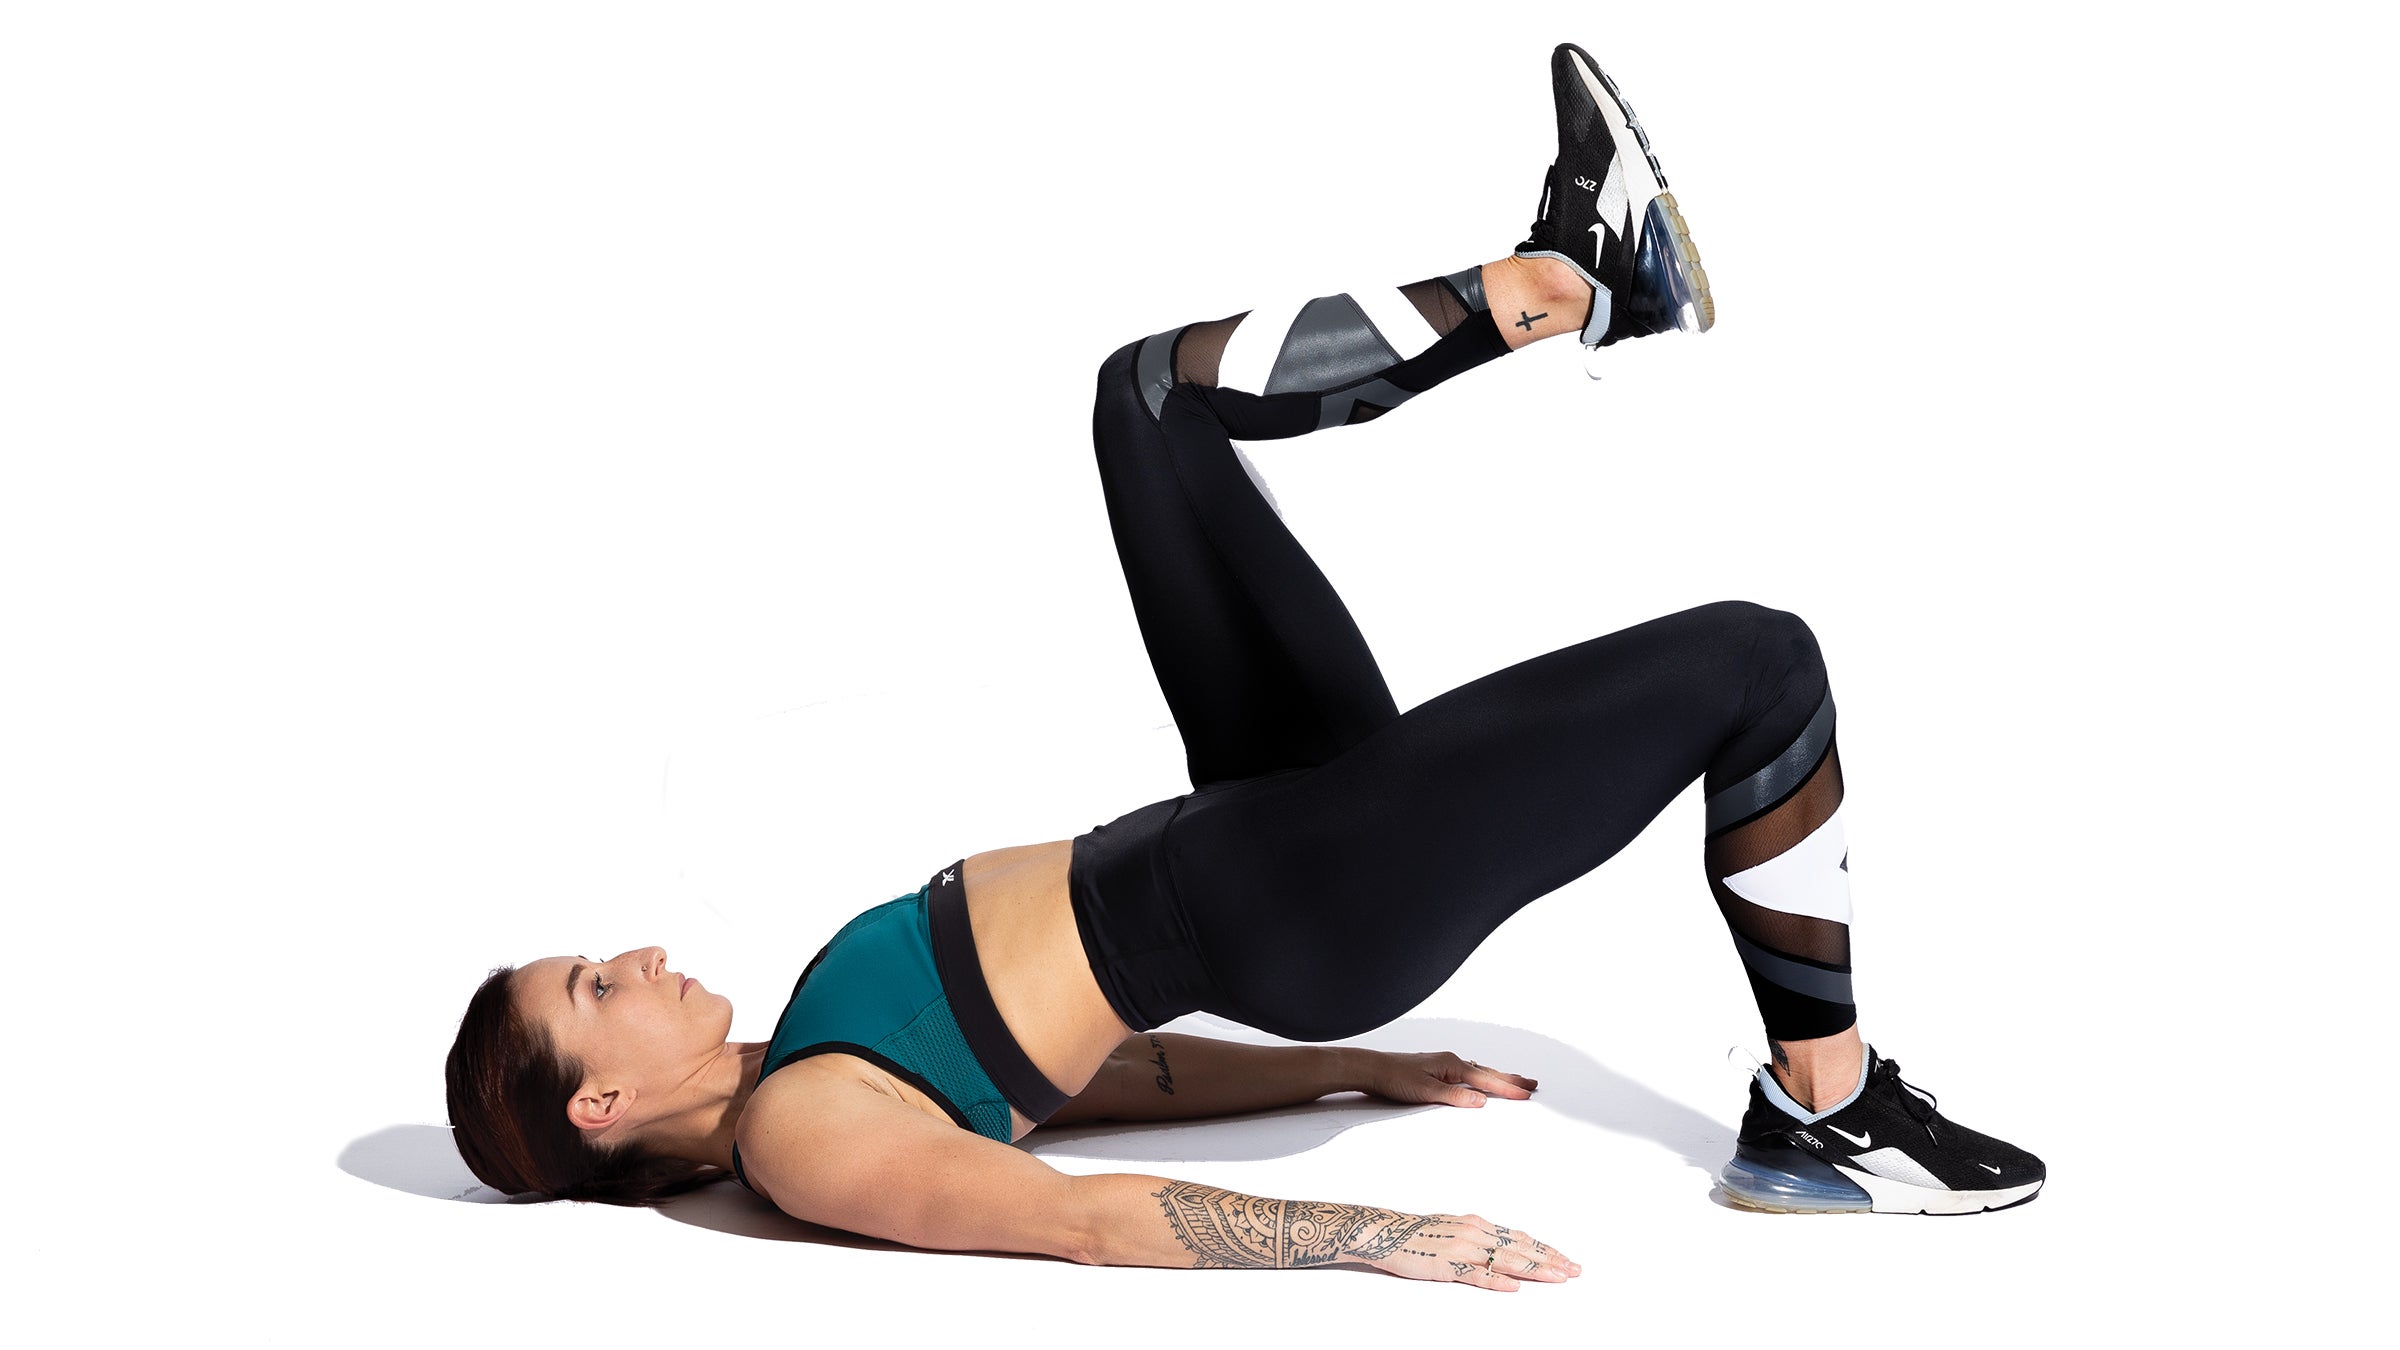
Level 2: Marching Bridge
Working unilaterally — e.g., one leg at a time — helps promote balance and strength between both sides of your body, ensuring optimal muscular development while preventing injury. This bridge accomplishes that aim while also adding an element of balance to really fire up your glutes and core.
Lie faceup with your knees bent and your feet flat on the floor spaced hip-width apart. Extend your arms along your sides with your palms down. Drive down into your heels and press your hips upward until they align with your knees and shoulders. Hold here as you lift one knee toward your chest, pause briefly, then place it back down. Continue, alternating sides.
ADVERTISEMENT
Troubleshooting
If you’re having trouble keeping your hips level, contract the glute of your lifted leg to help support its weight and even out your hips.
ADVERTISEMENT
If you’re getting a cramp in the hamstring of your working leg or your lower back begins to complain, you might lack the muscular endurance to keep your hips lifted for the duration of the move. Drop down to the floor between reps, as needed, when your form begins to falter and build your stamina over time.
Level 3: Single-Leg Bridge with Extension and Hold
A great way to level up a unilateral movement is to increase your time under tension for improved muscular endurance. This Level 3 version also ups the ante by extending one leg for the duration of the hold, increasing the physical — as well as the mental — challenge of each rep.
Lie faceup with your knees bent and your feet flat on the floor spaced hip-width apart. Extend your arms along your sides with your palms down. Drive down into your heels and press your hips upward until they align with your knees and shoulders. At the top, extend one leg straight in line with your opposite thigh and knee and try to hold that position for 10 to 15 seconds. Then replace your foot and lower to the floor. Rest briefly and then continue, alternating sides.
ADVERTISEMENT
Troubleshooting
- If your working leg is fatiguing, try pressing down into the floor with your arms. This is both a mental and a physical trick — mentally you’re focused on your arms rather than your legs, and physically pressing down into the floor helps engage more of your core muscles to solidify your base.
- If you can’t maintain the hold, don’t worry. Endurance is not inherent; it is trained. Begin by holding the position for one to two seconds and gradually work up to 15 seconds over the course of several weeks or even months.
Level 4: Single-Leg Weighted Bench Bridge
You’ve nailed the basics, you’ve corrected your imbalances and you’ve built your muscular endurance — now it’s time to train for strength and power. The Level 4 bridge not only adds resistance in the form of a weight, but it also situates the move on an elevated platform to throw your body and your mind the ultimate curve ball.
ADVERTISEMENT
Lie perpendicular to a flat bench with your heels on top of the bench and your knees and hips bent 90 degrees. Hold a small plate or dumbbell on top of your right hipbone and brace your core. Drive through your heels and press your hips upward until your shoulders, hips and knees align, then slowly extend your left leg until it is straight. Keep your leg extended as you slowly lower your glutes to touch the floor, then press back up into the bridge. Complete all reps on one side, then switch.
Troubleshooting
- If you’re feeling a strain in your neck, your head is probably out of alignment. Make sure that you’re looking straight up at the ceiling and that your chin is lifted off your chest to keep your head in the correct and safest position.
- If you can’t easily lift your hips level with your knees and shoulders, you might be too far away from the bench. Scoot your bum forward so your knees and hips make 90-degree angles at the start.